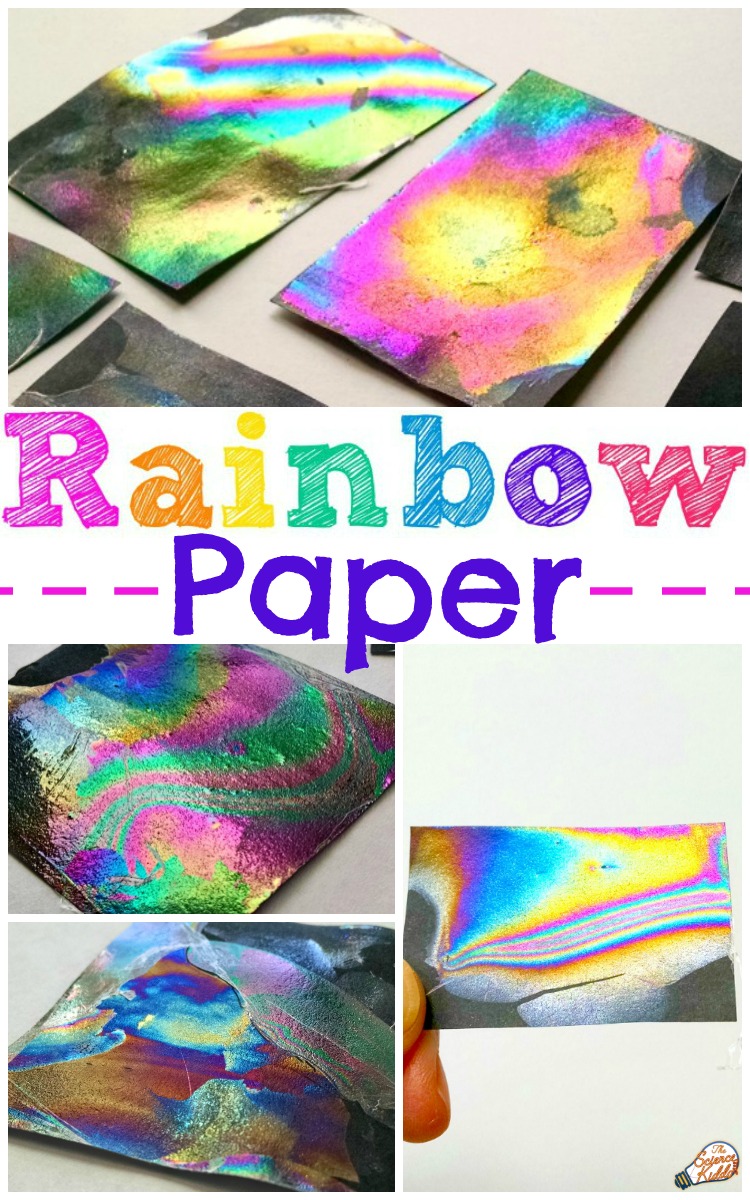
Rainbows are one of the most beautiful natural wonders and can teach us so much about color science for kids. After this five minute science activity everyone will walk away with their own magnificent rainbow paper that can be enjoyed year-round, rain or shine. And if you love this activity you will want to check our Five Minute Science series and our compilation of St. Patrick’s Day science experiments that include several more ways to make and play with rainbows!
Getting Ready
*This post contains affiliate links. Please see our disclosure policy.
To make rainbow paper we gathered a few quick supplies:
- A bowl filled with water
- Clear nail polish
- Rectangles of black construction paper or black card stock (about 3-5 inches long on the sides)
- Paper towels
The rainbow paper experiment is simple, but it does take some patience to get it just right. I made dozens of pieces of rainbow paper and about half of them turned out. Then my six-year-old daughter swooped in and made several stunning pieces right in a row. Don’t worry, I made a video of her doing it below so we can all copy her fine technique!

I have had some readers express concern about the fumes nail polish creates. I suggest doing this experiment in a ventilated area with good air circulation. The exposure to nail polish is so brief that it shouldn’t cause any problems, but if you have a child that is especially sensitive to strong smells it may be best to either do this experiment outside or skip it altogether.
How to Make Rainbow Paper
When my daughter was ready, all she did was drip one little drop of nail polish into the bowl of water.

She waited a couple of seconds and then dipped a piece of black paper into the water and pulled it out again. That’s it!

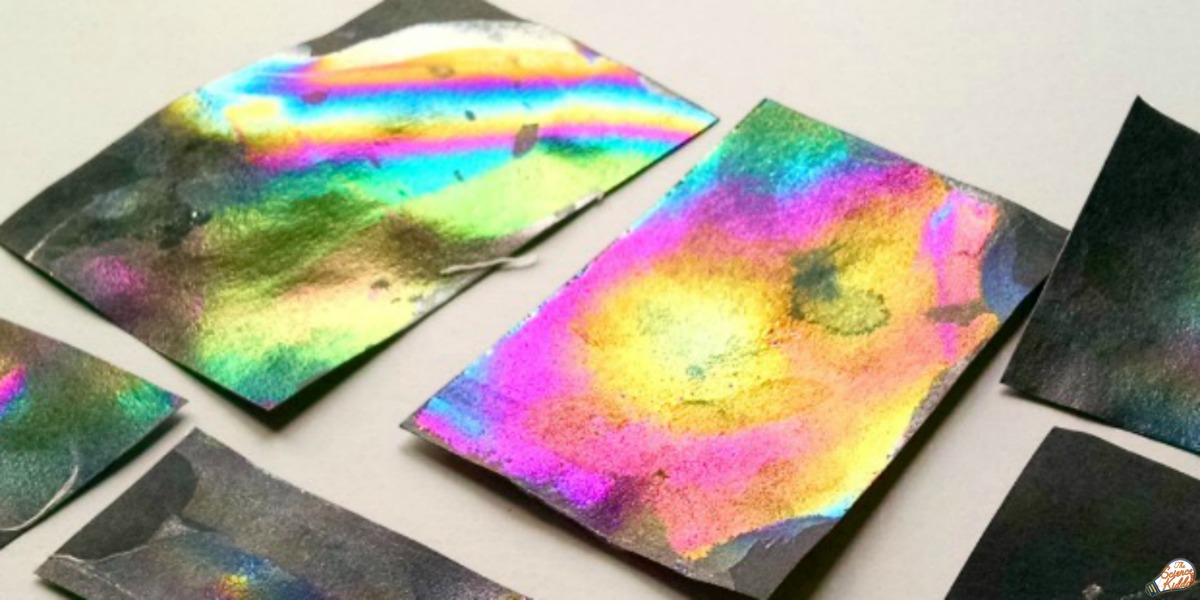
We set the pieces of rainbow paper onto paper towels to dry. It was amazing to see how different each piece turned out!
I have also had success with placing the paper under the water first and then dripping one drop of clear nail polish on top of it. The nail polish disperses across the surface of the water within a couple of seconds. Once the nail polish spreads out, it’s safe to pull the paper out of the water, coating it with a thin film of clear nail polish.
Experiment to see which technique works best for you!
The nail polish dries quickly on the surface of the water, which creates a film that won’t stick to the paper. To do this activity successfully it needs to be done quickly. Be sure to dip the paper into the water within 10-15 seconds after the drop of nail polish goes in.
If the nail polish does create a dry film on top, simply scoop it off and try again more quickly!
We did this experiment several times with several pieces of paper. It was fascinating to see how each piece came out so differently!
Once the paper is dry (this only takes a few minutes) tilt the paper in different directions to see the rainbow patterns appear. Hold it next to a sunny window for best results!

The Science Behind Rainbow Paper
When you dip the paper into the water it gets coated with a thin layer of nail polish. The rainbow colors you see are caused by thin-film interference. (Read a more detailed explanation of thin-film interference on Wikipedia.)
You will notice that the colors on the paper change as the you tip the paper back and forth. This happens because light hits the paper at different angles as you tip it.

The colors of the rainbow vary with the thickness of the nail polish on the paper. This is why each piece of rainbow paper is varied and unique!
This is the same effect you will see when oil mixes with water on the road on rainy days. Thin film interference is also visible on the surface of soap bubbles at just the right angle to the light.

Try to find each of the following colors on your rainbow paper: red, orange, yellow, green, blue, indigo, and violet!
There are many creative methods for making colored paper. Here are a few more of our favorite STEAM projects for making different kinds of rainbow papers with supplies we already have at home:
- Marbled Milk Paper :: Babble Dabble Do
- Shaving Cream Marbling :: The Artful Parent
- Oil and Watercolor Painting :: Playdough to Plato
Each piece of rainbow paper is sturdy and resilient. They can be cut up and used for a rainbow paper craft such as a Mother’s Day card, a valentine, or paper wings on an insect.

Check out the video of my daughter making her fabulous rainbow paper to see her technique! (She actually made most of the best pieces I photographed for this post.)

More Simple Experiments for Kids –>


Thanks for hosting! Rainbow paper is a great idea. We will surely try this out!
Awesome, thanks for stopping by!
How interesting! We have to try it out!
Definitely, it’s one of the easiest and most impressive science activities we have done 🙂
This is the coolest science activity! My son would get a kick out of this! I’ll have to see if I have an clear nail polish!
Yes, give it a try!
Very interesting project! Diffraction is one oft favorite things.
I know, anytime you can make a rainbow it’s going to be a hit 🙂
We first tried with my old OPI sparkle nail polish since I was *pretty* sure it’s kind of a top coat with sparkles in it, lol. I was wrong! It didn’t work! Since the nail polish drops would just sink to the bottom.
We tried it again, with a top coat (I went and bought some) on Monday morning. It was perfect since it took only ten minutes and cheered him up to get ready for school! Thanks 🙂
ThePracticalMomBlog.BlogSpot.in
I am so happy to hear that it worked well for you the second time! And it’s good to know about the sparkle nail polish. I love that you experimented to see if it would work. Now we all know something new!
This looks amazing. I wonder how old the nail polish can be – it’s been a while since I’ve had time for a manicure!! Your pictures are lovely as well. #pintorials
I know, right? The nail polish I used is very old, it kind of looks yellowish in the bottle. It worked for us!
How big can you make them? Looks like yours are pretty small. They’re lovely, I just am looking to make colorful paper to use as background for an art project.
I’ve never tried larger than about a 4 inch square. The only reason is because I don’t have a container big enough to try a bigger one. I think if you have a wide-mouth bucket or bowl that you can use, it should work just the same! You would probably have to use a few drops of nail polish rather than just one, but you have to be quick, too! Otherwise the polish dries out and it won’t work. Give it a try and let me know how it works!!
What a wonderful activity!! I have always wanted to do this but never really knew how to! Pinning and sharing. Thank you for posting on my facebook page.
Thank you for sharing! I’m so pleased that you like this activity 🙂
This was so fun to do. I love the effect it’s produced Pinned it.
Yay, another success!! Thanks for pinning 🙂
This comment has been removed by the author.
WOW, we have to try this. Thanks so much for sharing! These are the experiments I love – easy and cool!
I know, right? Sometimes the best activities are simple!!
This is brilliant! I haven’t done any scientific activities with my 2 and this sounds like a fun way to start. Thanks for linking. #weloveweekends
Awesome, this would be a great first science activity. Easy to set up, no mess, awesome results 🙂
Amazing my 7 year old would love this
Fantastic!
Thank you for linking up on We Love Weekends last week – your post is featured on this week’s We Love Weekends via Peakle Pie. Hope to see you linking up again soon!
Me parece muy divertido y si no te importa voy a poner un enlace en mi blog.
Un saludo.
I see that your target audience in homeschoolers, so this might not have occurred to you when most of your audience can control the location in which they perform this experiment, but the ONE safety concern that I’d recommend people take into account is ventilation. I wanted to do this with one of my classes (who are creating all different kind of hand-printed/etc. papers for an upcoming project), but we have no windows or ventilation unit in my classroom. Bummer. I’ll still probably do this on my own, and maybe I can take my students outside, since it’s finally supposed to get warm in NJ.
Thanks for sharing! I love reminding students how explorations in art can be built upon understanding science.
Wow, how awful that your classroom has no windows or ventilation! Perhaps with warmer weather coming you take a special day outside to do this activity. The colors are more brilliant in natural sunlight anyway 🙂
Howdy just wanted to give you a brief heads up and
let you know a few of the pictures aren’t loading
correctly. I’m not sure why but I think its a linking issue.
I’ve tried it in two different internet browsers and both show the
same results.
Thanks for letting me know 🙂
Does it matter the thickness of the paper? Constructíon vs. cardstock?
No, it shouldn’t matter. I used cardstock, but construction paper should work just fine. Let me know how it goes!
This is so cool! I can’t wait to do this with my son! Literally my favorite pin this week! Gotta share it on my Facebook page!
Glad you like it! Thanks for sharing 🙂
This is awesome! I am a summer camp leader and I have been trying to find new experiments to do with them! This is perfect! Thank you!
Fantstic, I’m so glad to hear it! Thanks for stopping by 🙂
My five yr old will love this! She love anything that’s similar to painting or anything craft related. We will definatly be doing this Friday 🙂
Thank u for posting!
Can’t wait to try this! But the explanation of how it works could be improved: rainbows work by refraction of light, while the rainbow paper works by interference, a very different process.
Does this actually work???? Do you have to use black paper?
It absolutely does work! And yes, black paper is best, though you could experiment to see what happens when you use other colors 🙂 Report back and let me know how it works!
Love this project! Is it just normal black paper that is used? In the pictures it looks very thin – almost like it’s tin foil.
I used black cardstock, but any kind of black paper should work: construction paper, scrapbooking paper, cardstock.
I am going to do this with my 5 year old grand daughter
How is there not a concern with children playing with toxic clear nail polish??
If your kids are prone to eating nail polish I wouldn’t let them handle it for sure! Use your own best judgement.
I think it’s a valid point. The fumes are also a concern, as one teacher pointed out in the comments. People should be sure to have good ventilation and make sure kids don’t get it coated on their hands and such. There are risks with nail polish and care should be taken, as with most science. It’s good to note it, just as a reminder. 🙂
Thank you for introducing such a nice experiment which would be children’s favorites.
Can I use it to Easter eggs?
That’s an interesting question! I haven’t tried it on Easter eggs, but I think it would be interesting to try it out and see what happens!
You can do this with colored polishes on Easter eggs, you just can’t eat them. Do a pinterest search for directions. We did it last year, it was fun!
What is clear nail polish?
It’s just nail polish that doesn’t have a color. You can click on the affiliate link above to see an example or you can buy it wherever you buy your cosmetics.
I’m a sixth grade science teacher and thought I’d heard of everything until I saw this. Can NOT wait to do this. My sixth graders will love this with our reflection unit. Bravo!! Love the links to products, printable directions, and awesome example pictures.
Thank you so much for stopping by! I look forward to hearing how your students enjoy it 🙂
We tried this exactly as instructed. It was an epic fail. We could see a small amount of refracted light on a few but never got the results in the photo. Very disappointed.
Hi Holly, I’m so sorry it didn’t work out very well for you! I have noticed that it works best when you view the paper in the sunlight and after the paper is completely dry. Sometimes I have made some rainbow paper that didn’t look like it worked, but after it dried the colors became more vibrant.
You could try some different nail polish? I have heard that some brands work better than others. Another technique to try is to immerse the paper in the bowl of water first, then drop the nail polish in and let it spread out over the surface before pulling the paper out. Others have had more success doing it this way rather than the way I outlined in my post.
Good luck, and please try it again! Let me know if you have more success.
Hi Crstyal,
Do you happen to remember which polishes you used in your own experiment or which ones have seemed to work best? I see an OPI in the pictures but was curious what the other was as well or what you would recommend. Hoping to possibly use this for the coming summer – thanks for the help!
I have always just used whatever random clear polish I have on hand. They have all worked so far! If you find one that doesn’t work well, though, just try another cheap brand. (That’s what I always have on hand.)
Hi Holly. Did you ever get this to work? I also had no success and wondered if you worked out what went wrong in your case? I used black construction paper and cheap nail polish (acetates, etc)
Can you use the paper when it is dry for art projects?
Absolutely!
I am doing this with my 3rd graders today. I practiced some first. I hope they like it!
Please let me know how it went!
Hello, Could I explain exactly how it works? thanks 🙂
Sure! I don’t usually go into too much detail in my explanations because typically parents and educators are here just to get some fun activities for their kids to do with an easy explanation to go along with it. But if you want to go into more detail, by all means!
Thank you so much for posting this activity! I can’t wait to try it withy kids at school tomorrow!
Oops, with *my kids lol
Do you completely submerge the paper or just lay it on top of the water?
Completely submerge it. Just real quick, in and out!
what kind of black paper should be used? any kind?
Yes, any kind should work! I have made rainbow paper with construction paper and cardstock and they both work great.
The sunlight is actually refracted as it passes through the raindrops, causing the light to bend into different colors : )
Cool activity. I’ve done it with kids many times, but your explanation is not just simplified, it’s wrong.
These iridescent, rainbow-like colors are caused by thin film interference. This is a good web site written for kids that explains the different ways colors are made. https://sciencekiddo.com//www.optics4kids.org/home/content/other-resources/articles/color,-thin-films,-and-interference/
Leaving kids wondering is better than introducing a misconception. Misconceptions formed early are very hard for anyone to unlearn.
Thank you for your comment, Pati! I have updated the explanation to reflect more correct scientific principles.
Does it have to be black paper? And could the paper later be used for origami?
It definitely has to be dark paper to see the rainbow colors. I have never tried anything but black, but I imagine a dark blue or purple would probably work. And yes, you could definitely use it for origami! Great idea! Once the paper is dry the colors don’t rub off.
Me and my little ones loved this tutorial it was so much fun. Thanks for sharing it! Head over to my website missmariesmedia.blogspot.com to see pictures of how ours turned out. We will definitely be trying this again!
Hi Marie,
How big were the pieces of paper that you used? They look large….
Thanks!
How big should the paper be?
I usually do a square that’s 3-4 inches on each side. It can be bigger or smaller, though, depending on the size of the bowl you are using.
Thank you so so so so much. This really helped me
I love this project.. Does it dry like this or does it dry as a clear coat?
It dries like this! From some angles it will look clear, but if you tilt it in the light you will see the rainbows!
Question: Is this a chemical change that is taking place? What actually takes place? Is it light?
Hi Melanie,
It’s not a chemical change that is happening. It’s simply creating thin film interference and reflecting light. It’s exactly the same thing that happens when it rains and you see puddles of oil on the street that look like a rainbow.
The black paper you used.. was it regular construction paper or was it card stock? I want to do this with my STEM class on Monday!!
Wonderful! I used card stock in all the photos, but black construction paper works just as well. I hope it goes well in your class!
My kids don’t know what to do for their schools Science Fair, but you found them the answer!
Might this work for dark fabric?
Worth a try! Let me know how/if it works out!
Hi! I love this idea! How would you explain the science behind it to fifth graders? After researching Interference Colors it seems like quite a complicated concept for kids to understand.
Thanks!
I would just use the correct vocabulary and don’t try to go into the complicated physics of it. At that age you just want kids to fall in love with science and learning and to pick up some vocabulary along the way. Once they know what they are looking at they’ll see it in oil on the roads and in bubbles, and that will be exciting.
While we are still practicing Stay at Home/ Distance learning, I have been looking for fun things to do with my second grade class to engage them.
I just did this for my 2nd grade class via our online meeting; THEY LOVED IT!!!
Hearing them ooh, ahh, and be excited when they tried it on their own were the best sounds and expressions I have heard in weeks!
Thank you so much for this!
This makes my day, thank you for sharing!
DO NOT USE STYROFOAM bowls. Please learn from me. LOL. Use hard plastic or glass bowls.